Disclosure: This post may contain affiliate links, meaning we get a commission if you decide to make a purchase through our links, at no cost to you. Please read our disclosure for more info.
Don’t let your kitchen intimidate you. DIY kitchen remodels give you the most bang for your buck. Here’s an easy DIY guide to replacing kitchen cabinets.
When looking to remodel your home, your kitchen is likely a place that needs some attention. Whether it’s your countertop, fridge, or appliances, chances are something is outdated. However, these projects can be expensive, time-consuming, or both. But, there’s another option you can take: replacing your modern kitchen cabinets doors yourself.
While it’s true not everyone is a natural when it comes to handyman work, home improvement is a skill that anybody can learn. Not sure where to start? Don’t worry, we’ve got you covered.
Let’s take a look at how you can go about replacing kitchen cabinets on your own.
In This Post:
What You’ll Need
Before we move on, you’ll need the following:
- Level
- Pencil
- Stud finder
- Tape measure
- Screwdriver
- Drywall screws
- Stepladder (for the top cabinets)
You’ll also need the cabinets themselves. You can purchase ones that fit your tastes from your local hardware store, but the professionals over at RTA Cabinet Supply say it may be easier to order them directly to your home.
Now, we’re ready to begin.
The Steps
(Carefully) Remove The Old Cabinets
Before you can set up your new cabinets, you’re going to have to get rid of the old ones. But, you should do this as gently as possible to avoid damaging your kitchen’s walls (or the old cabinets if you want to try and sell them). After you’ve cleared the way for your new custom kitchen cabinets, it’s best to start with the wall-mounted ones so that the bottom cabinets won’t get in your way during the process.
You can buy your cabinets from a hardware store, but most people find it easier to have them delivered to their home.
Installing Upper Cabinets
As you may have found out by now, cabinets are heavier than most people think. Therefore, you’re going to need to fasten each cabinet to the wall with at least three screws. Furthermore, these screws should go approximately 2 inches into the wall behind the cabinet. But, let’s start with…
Leveling
Using a level and a pencil, mark a perfectly straight line on your wall where you want the top of the cabinet to be located. Make sure that you leave enough room between the bottom of the mounted cabinets and your countertop, however.
Find the Studs
With a stud finder, locate the studs in your kitchen’s walls and do your best to mark the center of them with a pencil so that you know where to mount.
Corners First
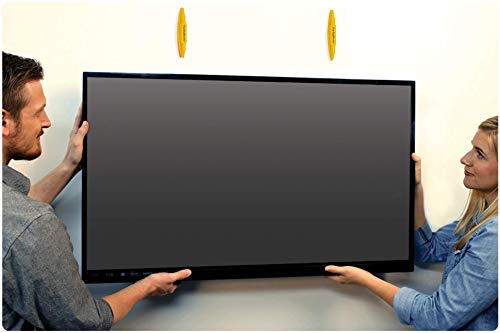
The actual installation of these cabinets is best done with a second person. While one of you holds and balances the cabinet, the other should screw it into the studs after making sure that it’s level.
Mount the Rest
Once you install the corner cabinet, you can use it as a reference when installing the others. Simply mount the others while using the first cabinet to make sure they’re level.
Installing Lower Cabinets
Now that the hardest part is over, you can begin installing the lower cabinets.
Carefully Align
The process is more or less the same as installing the top cabinets, but it’s much easier because you don’t have to balance while you mount. Align the bottom puter or corner cabinets carefully underneath the top cabinets, either visually or with a tape measure.
Join Together
Then, add the rest of the cabinets on the bottom row, once again making sure everything aligns properly.
Screw to Wall
When you’re happy with their arrangement, screw them into the studs in the wall.
Replacing Kitchen Cabinets Can Seem Difficult
But it doesn’t have to be.
With the above tips, you’ll be able to ensure you have an easy time replacing kitchen cabinets and that your new cabinets properly add to the aesthetic of your home.
Hungry for more DIY information? Check out our DIY and home improvement tips.


