Disclosure: This post may contain affiliate links, meaning we get a commission if you decide to make a purchase through our links, at no cost to you. Please read our disclosure for more info.
Water damage often proves one of the more insidious problems a homeowner can face. One of the reasons for this is that water damage can form a leaking pipe, a burst frozen pipe, sewage backup, roof problems, and even malfunctioning equipment.
This extensive range of possible problems makes the source of home water damage incredibly difficult to track down. Worse still, you can’t fix the damage until you track down the source.
Once you do track and fix the problem, then begins the unenviable task of water damage repair. You can get the most benefit out of the repair process with these tips.
In This Post:
1. Water Identity
For repair purposes, you can divide water into three mains types:
- Clean
- Gray
- Black
Clean water means water from broken hot or cold supply pipes, condensation, or rainwater. Gray water means somewhat dirty water from showers, appliances, or overflow from clean toilets. Black water means contaminated waters, such as sewage backups or from river flooding.
It’s generally safe for you to clean up clean and gray water with basic safety precautions. Call in professionals for black water cleanup.
2. Look for Signs
Water damage takes many different forms. Mold is the most common sign because it can appear within a day of water exposure. Mold isn’t the only sign.
You might also notice foul smells or see discoloration in paint or drywall. Read more about the signs of water damage here.

3. Dry Things Out
Drying things out is the first major step in the water damage restoration process. Once you get any standing water pumped out, you can use fans to move the air around and help dry things out.
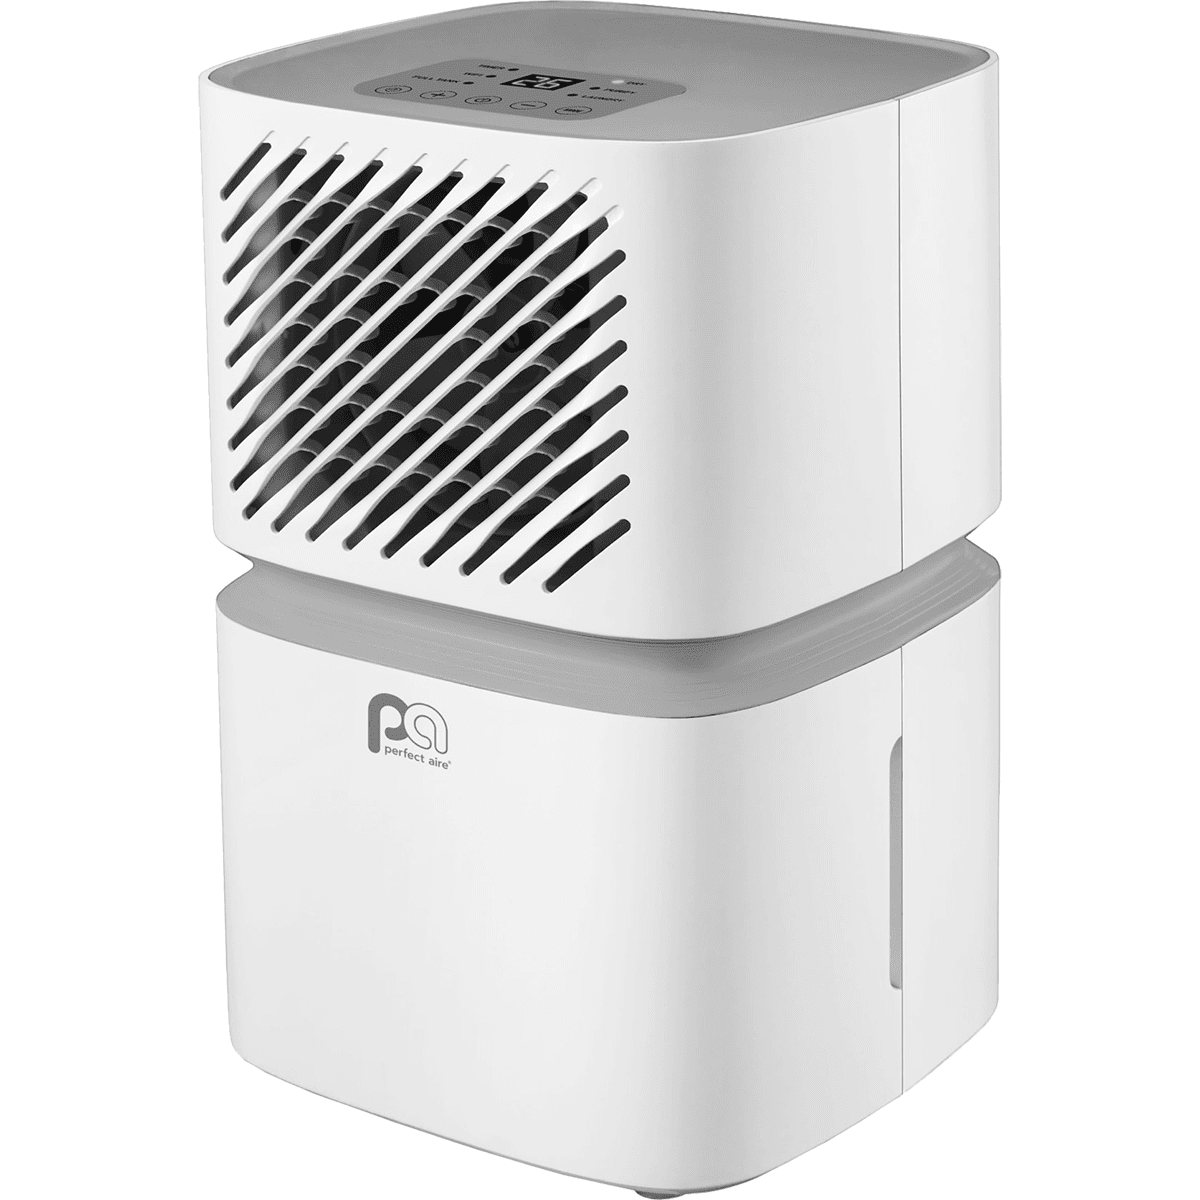
For especially soaked areas, you can also consider an option like a large-capacity dehumidifier to speed the drying process along.

4. Remove Damaged Materials
Your next major step in fixing water damage in your home is the removal of damaged materials. Take a hard look at anything porous, such as:
- Drywall
- Carpeting
- Books
- Clothes
- Linens
As a general rule, you should bag and dispose of all porous materials soaked through.
5. Disinfect
For non-porous surfaces, disinfection is your best friend. Most people go with bleach because it’s inexpensive and kills so many kinds of microorganisms. There are other disinfectants that might prove less abrasive on fragile surfaces.
Make sure you use basic protections like rubber gloves, eye protection, and breathing protection while disinfecting large areas.
Water Damage Repair Isn’t a Sure Thing
Even a thorough first pass at water damage repair doesn’t guarantee you’ve fixed the problem. Mold can show up down the road underneath floors and in walls that didn’t get thoroughly dried.
Possessions you thought you saved from water damage can show signs of mildew. You may even discover that the water damaged structural supports like floor joists. Following a major water event like flooding, you must remain vigilant for any signs of water damage and take swift action when you see it.
Lose your bedding in a water damage disaster or just looking for a change? Check out some of the great bedding options on our site.
