Disclosure: This post may contain affiliate links, meaning we get a commission if you decide to make a purchase through our links, at no cost to you. Please read our disclosure for more info.
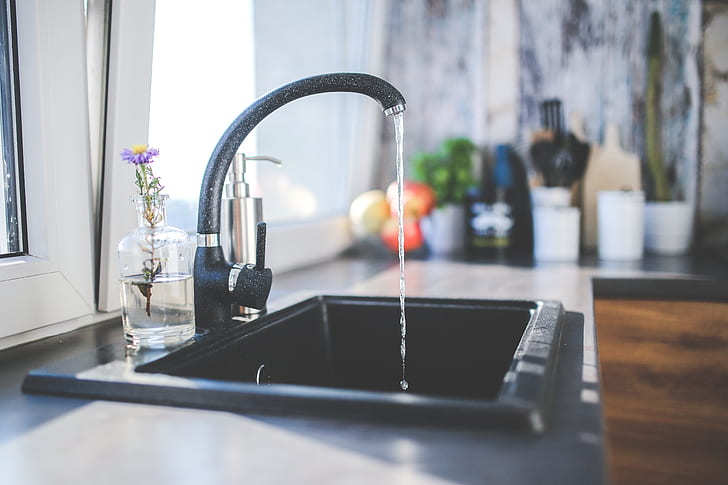
The flow restrictor is designed to control water flow from the kitchen faucet. This flow restrictor reduces the flow making the water pressure low. When it reaches a point that the water pressure is low, you may think of removing the restrictor to increase the water pressure. The flow restrictor from the grohe kitchen faucet is easy to remove.
Removing the flow restrictor for good is not recommended, but it is an excellent idea to understand how to remove it perfectly to clean or replace it. In some cases, the flow restrictor can be from the clogged aerator, but you can remove the aerator, and your faucet will work perfectly without the restrictor.
In This Post:
Step by Step Guide
If the flow restrictor reduces the water pressure, which hinders your job by taking long to rinse the dishes, you can remove it. Therefore it is important to go through the following steps to ensure the water flows as required.
Tools You Will Use
- Screwdriver
- Silicone jar lid or towel to hold the aerator
- Adjustable pliers or wrench ( the pliers may be used when it is tight to open with your fingers)
Step 1: Remove the Aerator
First, start by closing the sink drain or take a towel and cover it to prevent small fittings from falling into the drain. Try to turn the faucet aerator in counterclockwise direction using your bare hand. The faucet aerator gets removed in most cases. But if you find it slippery or it’s challenging to apply the pressure, then take the towel or silicone jar lid to remove it.
Take of the aerator from the faucet spout. The majority of the aerators are removed by just turning them clockwise by hand. There are also models like concealed aerators that require a tool to remove it. The removal tool is normally provided.
If the faucet did not come with the tool, you could find other tools like pliers to unscrew and remove the aerator. To protect the faucet’s finish while removing the aerator, cover the area where the pliers will hold with a painter’s tape.
Using the pliers, turn the aerator counterclockwise until you can remove it. Depending on the type of kitchen faucet available, the method you apply to remove the faucet aerator may vary.
Step 2: Remove the Aerator Parts and Rinse the Faucet
Remove all the aerator parts from the housing and lay them in order on the surface of the countertop. Turn on the water and rinse your kitchen faucet flow restrictor together with the faucet aerator screen. The water will automatically come out of your faucet with more force and pressure without the aerator. So please turn it on gently.
You will find the aerator screen behind the aerator that contains different holes that are drilled into it. This is the system that enables users choose the amount of water pressure coming from the faucet. Wipe away any debris and dirt from the flow restrictor and aerator screen using your fingertips. For effective cleaning, you can also soak the parts in a vinegar solution.
Step 3: Cleaning the Aerator
Clean the faucet and water lines using hot and cold water for around 30 seconds, while the aerator is switched off. This will flush out all the silt and dirt that may be formed inside the water lines.
If you find some debris in the water, you can flush it again until it is clean. Flushing the faucet more than once reduces the chances of the problem developing again. Note that when the aerator is off, the water will splash more.
Step 4: Reassembling the Aerator
This stage involves reassembling and reattaching the aerator head into the face of the kitchen faucet. Pick the aerator head and ensure that you don’t have any underlying parts that might be hidden behind the faucet. This is because some manufacturers attach two to three flow restrictors that assist with extra options regarding the desired water pressure.
Assemble all the aerator parts back to the aerator housing and screw the aerator counterclockwise back to the faucet spout. Use the wrench or flat-head screwdriver to twist it in the counterclockwise direction until the aerator head is tightly fitted.
Tightening with your hand is also recommended. You can replace the faucet aerator housing if you want to before tightening up. If it is a concealed aerator, the use of the equipment will be necessary for tightening up.
Turn on the water and confirm if the issue is resolved. If it is not resolved, reopen the aerator and check if the aerator screen was left back on the faucet’s opening or behind the head of the aerator.
Note: Ensure you know everything that comes through the faucet because of the absence of the flow restrictor. Debris and dust particles can also flow out. Check to ensure that your faucet is clean all the time.
Conclusion
Finally, depending on the kitchen faucet model, there may be different methods and specialized tools to perform such operations. It is, therefore important to read and understand before making your final decision on the kitchen faucet. Good care and proper maintenance will make your faucet perform well and serve you for a long.
Grohe kitchen faucet flow restrictor is made to control the flow of water in your kitchen sink. These restrictors sometimes underperform or require a replacement. This is, therefore, the time to clean or replace them. In order to replace your old faucet, check sink engineering best grohe kitchen faucet review to take an informed decision. We have seen a step by step procedure you can follow to remove the flow restrictor correctly. Follow the steps, and your restrictor will be removed and cleaned easily.


