Disclosure: This post may contain affiliate links, meaning we get a commission if you decide to make a purchase through our links, at no cost to you. Please read our disclosure for more info.
Staining the wood fence around your home can bring many benefits. That’s why it’s recommended to most homeowners, especially ones that live in more humid or high moisture areas.
Even if you live in a drier area, advantages like UV protection and easier maintenance, among other benefits, make the effort worth it in the long run.
This quick guide will give a run down and step-by-step process of how to stain your wood fence as well as the main benefits of doing it.
In This Post:
How to Stain Your Wood Fence
Before you can start staining your wood fence, you will need to gather a few materials. This applies whether you have a new fence or an old fence that may need to be replaced soon.
Another consideration you need to make is to ensure you have ample time for this activity. We advise blocking off the whole afternoon if you want to stain the fence yourself.
Materials Needed
Here are the materials you need to stain your fence.
- Gloves and an apron
- Work clothes or clothes you don’t mind getting dirty
- Goggles (optional but recommended)
- Power washer
- Sandpaper
- Paint sprayer, brush, or roller
- Wood-safe sealant
- Stain for wood fences
Step 1: Clean and Prepare the Fence
Before adding anything onto your fence, you need to clean it and prepare the surface so that it sticks properly. You’ll need both the power washer and sandpaper for this step.
First, use the power washer to remove all the dirt built up on your fence. Make sure to run the stream more than once over each area to ensure it’s clean.
Then, use the sandpaper to sand down any uneven surfaces and points like splinters or rough sections. Make sure that the surface area is smooth and looks like it can absorb liquids.
Step 2: Apply the Stain

When the surface has been properly cleaned and prepared, you can begin applying the stain onto the wood. Grab your wood stain and your application tool of choice.
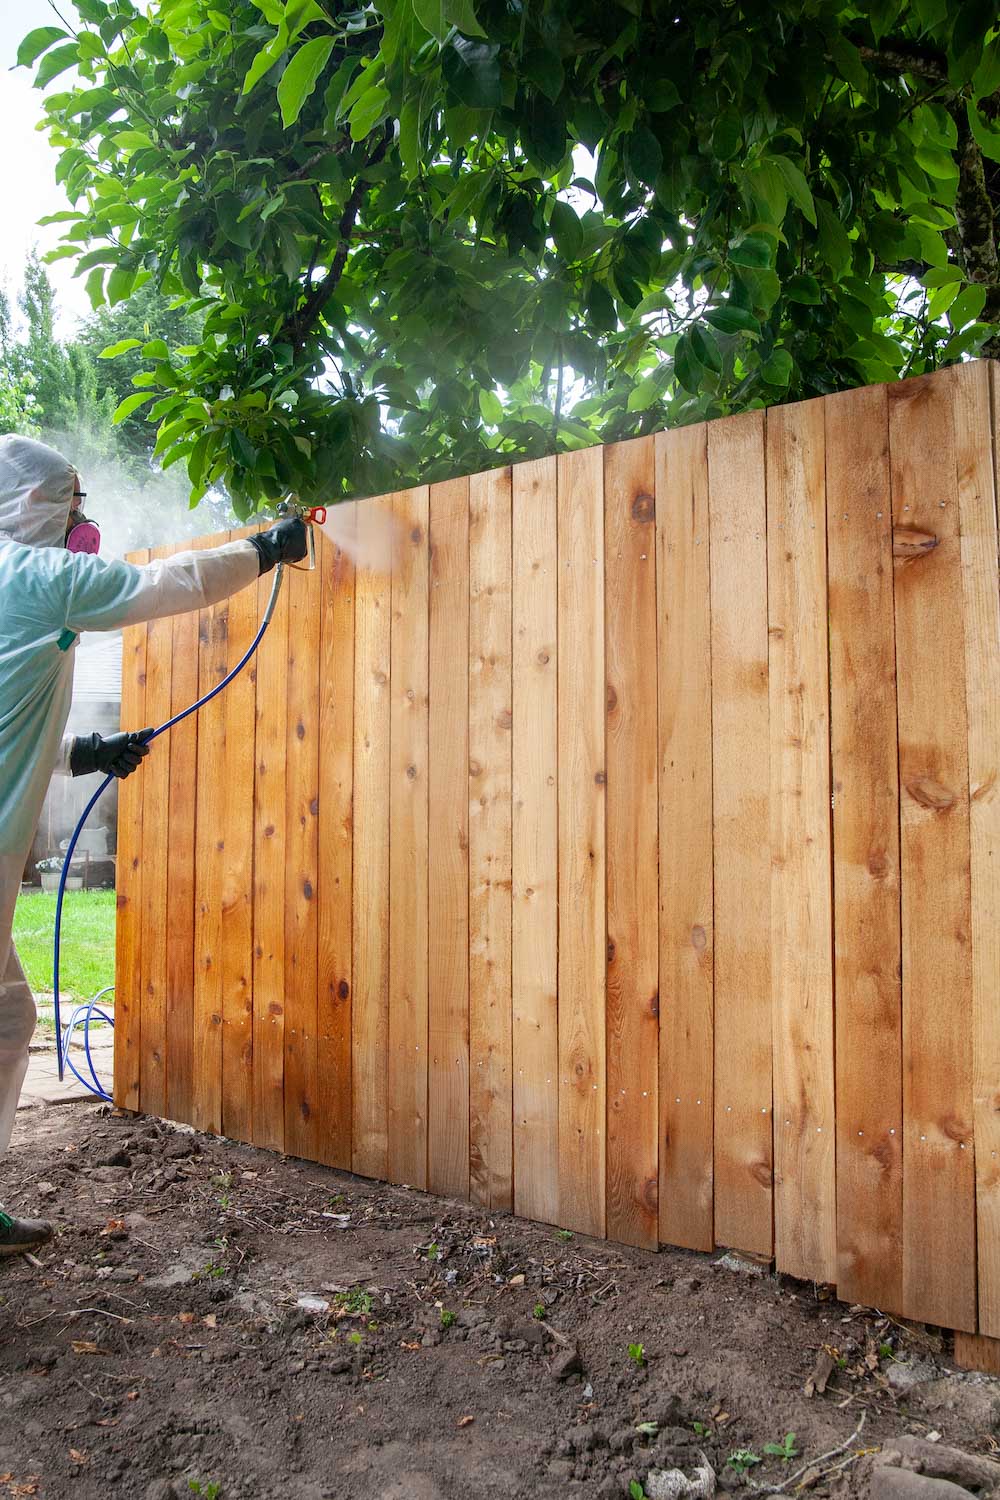
If you are using a paint sprayer, load the canister/bottle/plastic jug with the stain. Spray it generously over the wood surface, keeping it continually moving in an up-and-down motion.
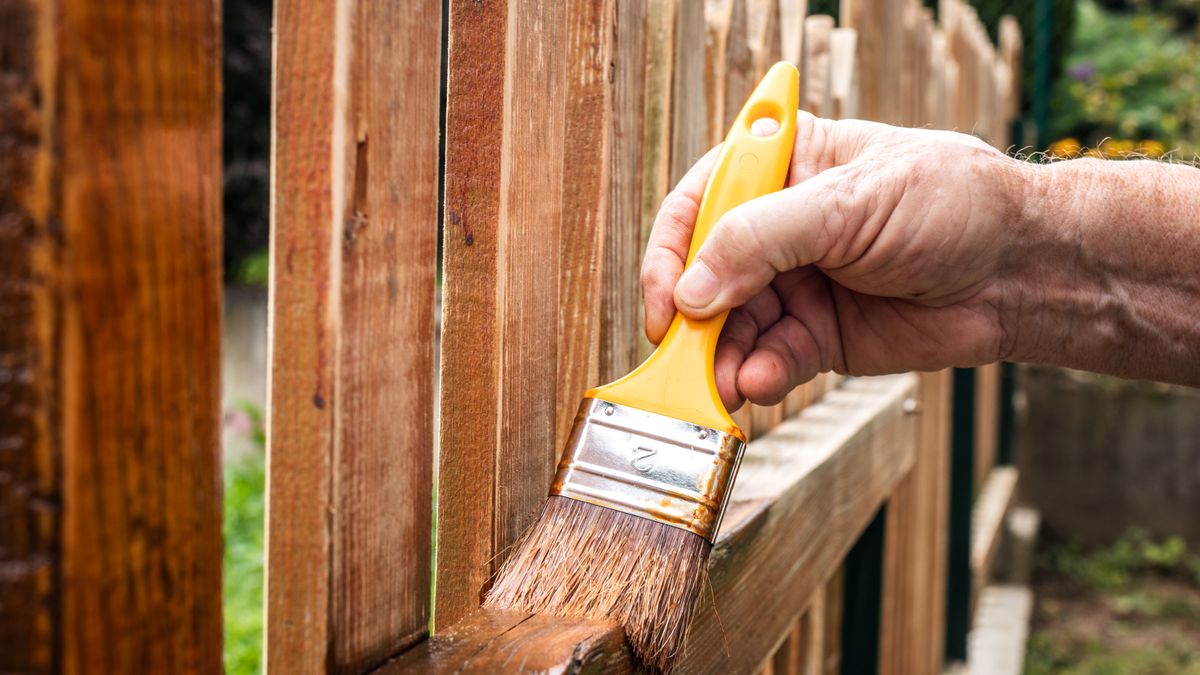
If you are using a brush or roller, apply it as if you were painting the fence. Generously apply the stain onto the wood surface in an up-and-down motion.
Once you have finished with one coat, let the stain set in for a few minutes. Then, apply a second coat using the same method to ensure that the stain is properly applied.
The wood surface should look much darker than it was before you sprayed the stain. If it still looks the same, try applying another coat.
Step 3: Apply Sealant

When the desired layer of stain has dried, finish up the process by adding a sealant. This will make sure that the stain does not dry up or get washed away.
Before you apply the sealant, ensure that it is wood-safe or made specifically to be used on wood. You don’t want to damage your fence by using the wrong kind of sealant!
Apply the sealant according to the manufacturer’s instructions. Make sure that it fully coats the wood surface before letting it dry.
When both the stain and the sealant have dried, it should look lighter than when the application was fresh. This is normal and means that you’ve applied it properly.
Why You Should Stain Your Wood Fence
Despite being intimidating at first, staining a wood fence offers plenty of benefits that make the cost of materials and labor worth it.
UV Protection

Since your wooden fence is outdoors 24/7, it is continuously facing the wrath of the sun’s UV rays. These UV rays can cause heavy discoloration over time, ruining the appearance of your fencing.
A good example of UV rays changing how a fence looks is when it looks “bleached.” Some fences tend to look overly white compared to how the wood naturally is.
Staining your wooden fences at least once a year helps them keep their natural color, which will help your lawn look a lot more fresh, new, and inviting.
Water Resistance
Using wood stain to protect your fences has another benefit – adding water resistance. Wood generally does not do well when exposed to a lot of water through rain or even moisture.
When moisture gets in and out of wood, it will warp and deform it over time. Moisture also causes rot in the wood, which affects both its aesthetics and structural integrity.
Coating your wood fences with stain puts a barrier between the wood and moisture on the outside. This prevents both warping and rot, keeping the wood clean and strong.
Protection Against Mold and Mildew
Mold and mildew can turn a great-looking fence into one that looks like it’s been abandoned for years. It causes discoloration and breaks down adhesives that bind the wood together.
Similar to rot, mold and mildew are caused by moisture getting into the wood. A wood stain coating over fence surfaces helps keep moisture out.
Additionally, most wood stains are formulated with special chemical additives that are anti-mold and mildew.
This makes any wood with a stain coating extra resistant to external sources of damage like mildew.
Pest Protection

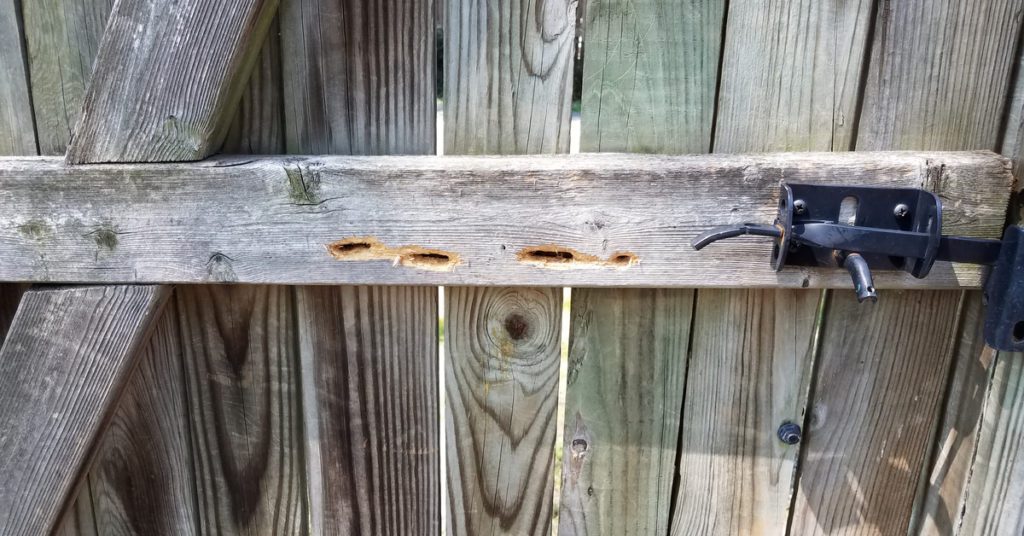
Pests are another common enemy of wooden fences. Pests like termites, wood borers, and beetles are notorious for eating into and destroying wooden fences.
Even if they don’t completely destroy the wood, they can eat into crucial structural pieces in your fencing, causing it to weaken over time and eventually break down.
Having wood stain coatings on your fences prevents these pests from burrowing into the wood.
Easier Maintenance
Compared to simply painting the wood, staining it requires less upkeep and maintenance. A stained wooden fence can look pristine for much longer without constant repainting.
This is because staining solutions and coatings usually penetrate a lot deeper into the wood, as opposed to paints that usually settle on the surface level.
However, note that stained fences that get more sunlight will need to be re-stained more often.


